


2 月 . 15, 2025 19:16 Back to list
installing ceiling grid systems
Transforming your living or workspace with a suspended ceiling can enhance both aesthetics and functionality, especially when done using a ceiling grid system. From modern minimalism to traditional charm, the flexibility of these systems allows for an array of design possibilities. Here is a comprehensive guide to installing ceiling grid systems, rooted in experience and expertise, and aimed at establishing authority and trust in your DIY endeavors.
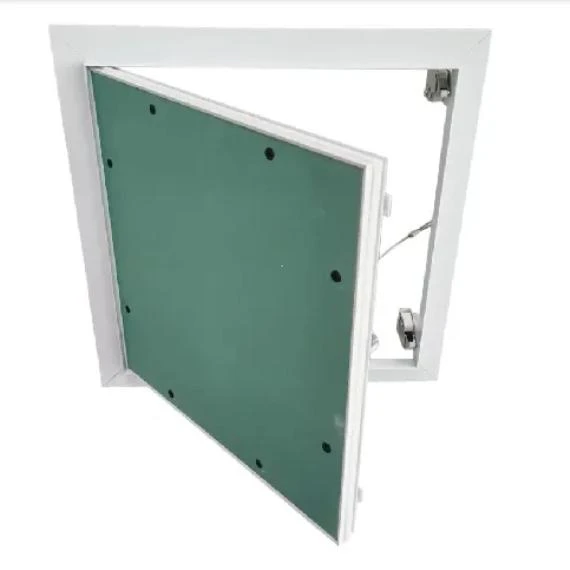
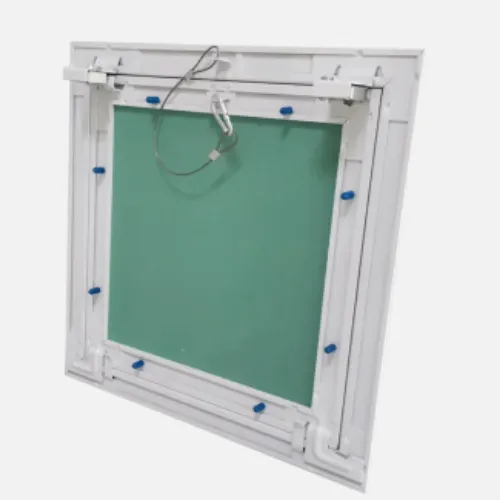
Integrating the ceiling tiles is often the most anticipated step as it reveals the aesthetic transformation of your space. Opt for tiles that reflect the intended ambiance of the room. Whether it's the sophisticated sheen of metallic tiles or the rustic warmth of wooden patterns, the options are vast. During installation, cut the tiles as needed to fit around light fixtures or other obstructions with precision to ensure a polished final appearance. An often overlooked, yet imperative aspect of any ceiling grid system installation is its compliance with building codes and regulations. Ensuring your installation adheres to local codes not only guarantees safety but also enhances trustworthiness. Consulting guidelines specific to your region or hiring a professional to inspect your work can provide assurance that your ceiling is up to standard. Beyond functionality and design, a ceiling grid system also offers practical benefits such as improved acoustics and energy efficiency. By choosing tiles with soundproofing qualities or insulation properties, you can enhance the environment of your space further. This not only contributes to the expertise displayed in your installation but also positions you as an authority on creating multi-faceted improvements in home or commercial spaces. For those seeking longevity and minimal maintenance, regular inspections are advisable. This includes checking for any loose components or signs of wear over time. Addressing issues promptly prevents minor problems from escalating into major repairs. In conclusion, installing a ceiling grid system, when approached with thorough expertise, keen attention to detail, and a commitment to quality, can transform any space. From the initial planning stages to the final tile installation, each step is crucial in achieving a result that not only enhances the visual appeal but also adds value and efficiency to your environment. Armed with this knowledge, anyone can approach their ceiling project with confidence, paving the way for a stunning transformation that stands as a testament to their workmanship.
Integrating the ceiling tiles is often the most anticipated step as it reveals the aesthetic transformation of your space. Opt for tiles that reflect the intended ambiance of the room. Whether it's the sophisticated sheen of metallic tiles or the rustic warmth of wooden patterns, the options are vast. During installation, cut the tiles as needed to fit around light fixtures or other obstructions with precision to ensure a polished final appearance. An often overlooked, yet imperative aspect of any ceiling grid system installation is its compliance with building codes and regulations. Ensuring your installation adheres to local codes not only guarantees safety but also enhances trustworthiness. Consulting guidelines specific to your region or hiring a professional to inspect your work can provide assurance that your ceiling is up to standard. Beyond functionality and design, a ceiling grid system also offers practical benefits such as improved acoustics and energy efficiency. By choosing tiles with soundproofing qualities or insulation properties, you can enhance the environment of your space further. This not only contributes to the expertise displayed in your installation but also positions you as an authority on creating multi-faceted improvements in home or commercial spaces. For those seeking longevity and minimal maintenance, regular inspections are advisable. This includes checking for any loose components or signs of wear over time. Addressing issues promptly prevents minor problems from escalating into major repairs. In conclusion, installing a ceiling grid system, when approached with thorough expertise, keen attention to detail, and a commitment to quality, can transform any space. From the initial planning stages to the final tile installation, each step is crucial in achieving a result that not only enhances the visual appeal but also adds value and efficiency to your environment. Armed with this knowledge, anyone can approach their ceiling project with confidence, paving the way for a stunning transformation that stands as a testament to their workmanship.
Latest news
-
Revolutionizing Interior Design with Ceilings t grid Suspended SystemNewsOct.29,2024
-
Revolutionizing Ceiling Design with ceiling access panel with Gypsum Tile WaterproofNewsOct.29,2024
-
Revolutionizing Interior Design with PVC Gypsum Ceiling: A Comprehensive GuideNewsOct.29,2024
-
Elevating Interior Design with High quality Mineral Fiber Ceiling TilesNewsOct.29,2024
-
Revolutionizing Interior Design with PVC Gypsum Ceiling: A Comprehensive GuideNewsOct.29,2024
-
Elevating Interior Design with High-Quality Mineral Fiber Ceiling Tiles: A Comprehensive GuideNewsOct.29,2024


