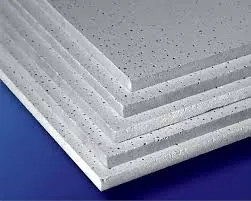
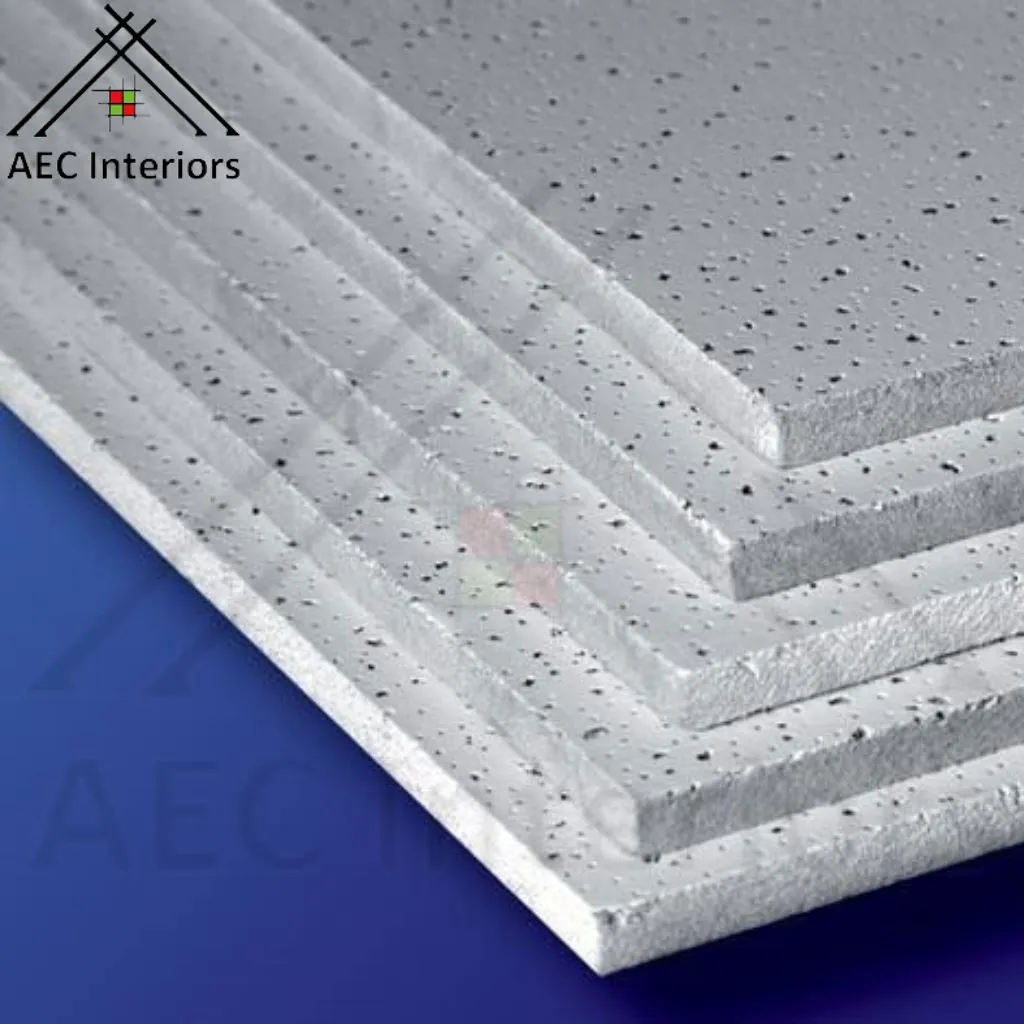
Installation of Mineral fiber tile ceiling grid system
The installation of a mineral fiber tile ceiling grid system is a straightforward process that can be accomplished by following a few key steps:
Plan the layout:
Determine the size and shape of the ceiling grid system you want to install. Measure the room and determine the number of tiles and suspension wires needed.
Install the suspension wires:
Install the suspension wires at each of the corners of the room, making sure they are level. Use a laser level or plumb bob to ensure that the wires are straight.
Install the main runners:
Install the main runners perpendicular to the suspension wires, securing them with hanger wires. The main runners should be installed at intervals that match the size of the tiles.
Install the cross tees:
Install the cross tees perpendicular to the main runners, securing them with clips. The cross tees should be installed at intervals that match the size of the tiles.
Install the mineral fiber tiles:
Once the grid system is in place, install the mineral fiber tiles. Begin in one corner and work your way across the room. Use a straight edge to ensure that the tiles are aligned properly.
Cut the tiles:
Cut the tiles as needed to fit around obstructions such as lights, vents, or pipes. Use a sharp utility knife or tile cutter to make precise cuts.
Finish the edges:
Install border tiles around the perimeter of the room to create a finished look. These tiles can be cut to fit using the same methods as the main tiles.
Clean up:
Once the installation is complete, clean up any debris or dust left from the installation process.
Overall, the installation of a mineral fiber tile ceiling grid system is a relatively simple process that can be accomplished with basic tools and some careful planning. By following these steps, you can create a durable and attractive ceiling that provides excellent sound control and improves the overall appearance of your space.


