10 月 . 14, 2024 01:43 Back to list
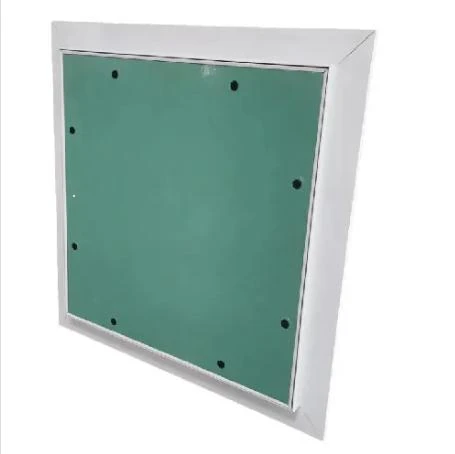
installing access panel in ceiling
Installing Access Panels in Ceilings A Step-by-Step Guide
Access panels are essential for providing convenient access to plumbing, electrical systems, or ductwork concealed within ceilings. Installing an access panel in your ceiling can be a straightforward DIY project that enhances maintenance efficiency while maintaining the aesthetic integrity of your space. Here’s a comprehensive guide on how to install an access panel in your ceiling.
Step 1 Choose the Right Access Panel
Before you begin, it’s crucial to select the appropriate access panel for your needs. Panels come in various sizes and materials, including plastic, metal, and drywall. Consider the location of the panel and what it will be used for. For example, a plastic panel is ideal for access to electrical wires, while a metal panel may be better suited for plumbing access.
Step 2 Gather Your Tools and Materials
You’ll need several tools and materials to install your access panel
- Access panel - Measuring tape - Utility knife - Level - Stud finder - Screwdriver or drill - Safety goggles
Step 3 Choose the Location
Using your stud finder, locate the ceiling joists where you plan to install the panel. It's important to ensure that the panel will be situated in an accessible area. Mark the chosen location with a pencil, ensuring there are no obstructions such as wiring or plumbing.
Step 4 Measure and Cut
installing access panel in ceiling

Using your measuring tape, measure the dimensions of your access panel. Make corresponding marks on the ceiling, and make sure they are square and level. After marking the dimensions, use your utility knife to carefully cut out the drywall. Take extra care during this step to avoid any damage to surrounding materials.
Step 5 Install the Access Panel
Once you have cut the opening, insert the access panel into the opening. Ensure it fits snugly. If your panel has mounting clips, secure them according to the manufacturer’s instructions. For panels that require screws, pre-drill holes and then use your drill or screwdriver to secure the panel in place.
Step 6 Finishing Touches
After the panel is installed, you may need to touch up the surrounding area with paint to match the ceiling. This can help the access panel blend seamlessly with the surrounding material while maintaining a clean, professional appearance.
Step 7 Test the Access Panel
Finally, open and close the access panel to ensure it operates smoothly. Check that it provides adequate access to the areas you need for maintenance or inspection.
Conclusion
Installing an access panel in your ceiling is a practical solution for maintaining hidden fixtures while preserving the room's aesthetics. By following these steps, you can confidently complete the installation yourself, ensuring that your home remains functional and efficient. Remember to take your time and prioritize safety throughout the process, and you will end up with a neat and functional access point that enhances your living or working space.
-
Revolutionizing Interior Design with Ceilings t grid Suspended SystemNewsOct.29,2024
-
Revolutionizing Ceiling Design with ceiling access panel with Gypsum Tile WaterproofNewsOct.29,2024
-
Revolutionizing Interior Design with PVC Gypsum Ceiling: A Comprehensive GuideNewsOct.29,2024
-
Elevating Interior Design with High quality Mineral Fiber Ceiling TilesNewsOct.29,2024
-
Revolutionizing Interior Design with PVC Gypsum Ceiling: A Comprehensive GuideNewsOct.29,2024
-
Elevating Interior Design with High-Quality Mineral Fiber Ceiling Tiles: A Comprehensive GuideNewsOct.29,2024


