11 月 . 01, 2024 20:02 Back to list
Steps to Install an Access Panel in a Drywall Ceiling Efficiently
How to Install an Access Panel in a Drywall Ceiling
Installing an access panel in a drywall ceiling can be a useful addition to your home, providing easy access to plumbing, electrical wiring, or other utilities concealed within the ceiling. Whether you’re a DIY enthusiast or someone looking to improve your home, following these steps will guide you through the process of installing an access panel safely and efficiently.
Materials Needed
Before you start, gather the necessary materials
- Access panel (size depends on your needs) - Drywall saw or utility knife - Measuring tape - Level - Pencil or chalk for marking - Joint compound (if required) - Drywall tape (optional) - Sanding sponge (for finishing) - Safety goggles and dust mask
Step 1 Choose the Location
Decide where the access panel will be installed. It’s important to place it strategically so that it provides convenient access to the area you need to reach. Ensure it doesn’t interfere with any ceiling joists or utilities. Consider using a stud finder to locate joists and avoid cutting into them.
Step 2 Measure and Mark
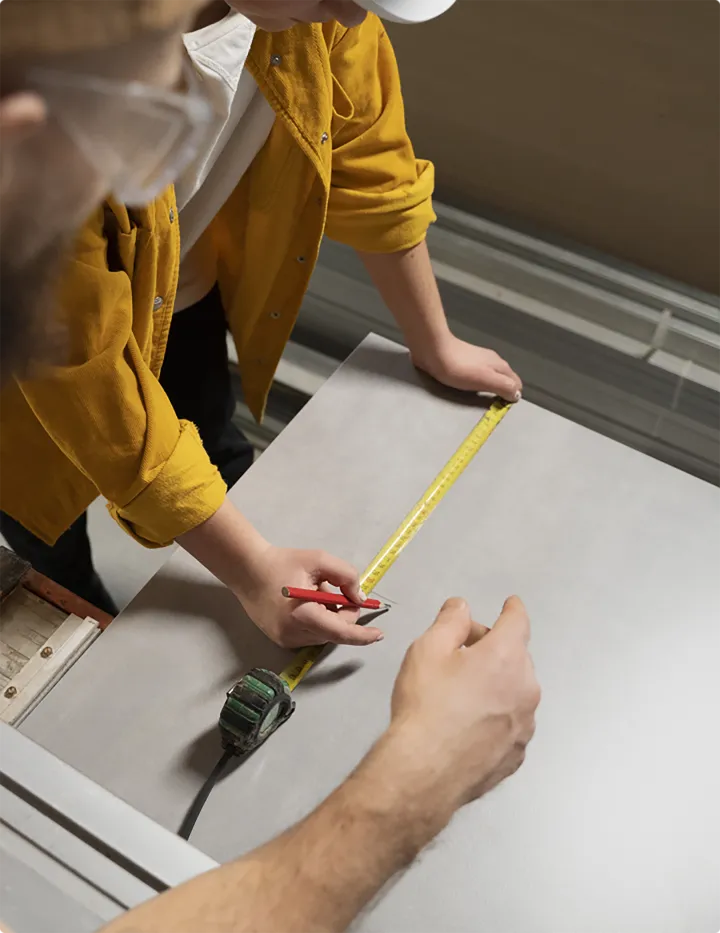
Using the measuring tape, determine the size of the access panel you need. Transfer these measurements to the ceiling with a pencil or chalk. It's vital that your markings are square and level, which will ensure a straightforward installation. Remember to add a few inches to both the length and width of the panel size to accommodate the opening for installation.
Step 3 Cut the Opening
how to install access panel in drywall ceiling

With your markings in place, use a drywall saw or utility knife to carefully cut out the marked area. Take your time, and ensure that you are steady and precise to avoid damaging the surrounding drywall. If you encounter any wiring or plumbing during this process, proceed cautiously and avoid cutting through any of these utilities.
Step 4 Install the Access Panel
Once you have the opening cut, place the access panel into the opening to see if it fits well. Some panels come with clips that secure them in place, while others may need small screws. Follow the manufacturer’s instructions for installation. If necessary, use the leveling tool to ensure the panel is even with the surrounding ceiling.
Step 5 Finish the Edges
If the access panel edges leave an unfinished look or if your panel requires it, apply joint compound around the edges. This step is optional if your access panel has a clean finish. If you apply joint compound, let it dry completely, then sand it smooth with a sanding sponge to create an even surface that blends well with the rest of the ceiling.
Step 6 Paint and Touch Up
Once the access panel is installed and the edges are smooth, you can paint over it to match the ceiling. Choose a paint that suits the texture and finish of your ceiling for a seamless appearance.
Conclusion
Installing an access panel in a drywall ceiling is a practical project that can enhance your home's functionality. By carefully planning the location and following these steps, you can ensure a smooth installation process. Remember to prioritize safety throughout the project by wearing protective gear and being aware of utilities. With the right tools and approach, you'll have your access panel installed in no time, making future repairs and inspections much more convenient. Enjoy the added accessibility and peace of mind that comes with your new access panel!
-
Revolutionizing Interior Design with Ceilings t grid Suspended SystemNewsOct.29,2024
-
Revolutionizing Ceiling Design with ceiling access panel with Gypsum Tile WaterproofNewsOct.29,2024
-
Revolutionizing Interior Design with PVC Gypsum Ceiling: A Comprehensive GuideNewsOct.29,2024
-
Elevating Interior Design with High quality Mineral Fiber Ceiling TilesNewsOct.29,2024
-
Revolutionizing Interior Design with PVC Gypsum Ceiling: A Comprehensive GuideNewsOct.29,2024
-
Elevating Interior Design with High-Quality Mineral Fiber Ceiling Tiles: A Comprehensive GuideNewsOct.29,2024


