10 月 . 06, 2024 21:28 Back to list
how to build a ceiling access panel
How to Build a Ceiling Access Panel
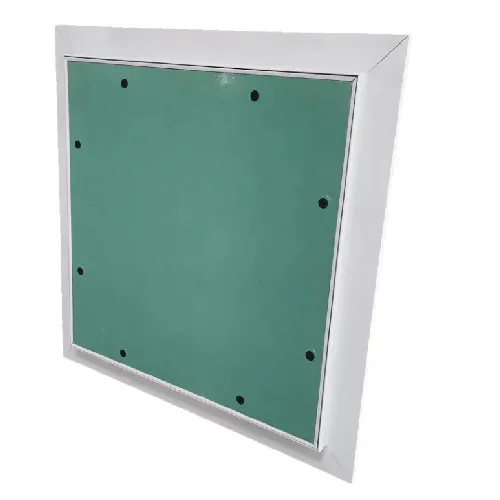
An access panel is an essential feature in any building, allowing easy access to plumbing, electrical systems, or HVAC units hidden behind ceilings or walls. Installing a ceiling access panel can simplify maintenance while ensuring a neat appearance. This guide will walk you through the steps to build your own ceiling access panel.
Materials Needed
1. Plywood or Sheetrock Choose a material that matches the ceiling structure. 2. Hinges Heavy-duty hinges will provide durability and ease of use. 3. Latch A simple latch or a magnetic catch will keep the panel securely closed. 4. Saw A circular saw or utility knife for cutting the panel. 5. Measuring Tape To ensure accurate measurements. 6. Level To ensure the panel installs flush with the ceiling. 7. Paint or Ceiling Texture Optional, for finishing touches.
Step-by-Step Instructions
1. Determine Location and Size Identify the area where you need access. Measure the opening required based on the equipment or system you need to reach. A typical size is 14” x 14” or 24” x 24”, but adjust as necessary.
2. Cut the Opening Use your saw to cut the opening in the ceiling. Ensure the edges are clean and straight. It may be helpful to use a drywall saw for Sheetrock ceilings, or a jig saw for plywood. Check for any electrical wiring or plumbing before cutting by using a stud finder.
how to build a ceiling access panel

3. Construct the Frame To create a frame for the access panel, cut wood strips (2x4s are ideal) that fit around the opening. Securely attach them to the inside of the ceiling hole with screws, making sure the frame is level and flush with the ceiling surface.
4. Create the Access Panel Cut a piece of plywood or Sheetrock to the size of the opening, making sure it fits snugly within the frame. If using plywood, you can add decorative trim later for a more finished look.
5. Attach Hinges Position the hinges along one side of the access panel. Attach them securely with screws to both the panel and the frame. Make sure the hinges allow the panel to swing open without obstruction.
6. Install the Latch On the opposite side of the hinges, install your latch or catch. This mechanism will keep the panel securely closed when not in use.
7. Finishing Touches If desired, paint or texture the access panel to match the surrounding ceiling to maintain a seamless appearance. This step is optional but recommended for aesthetic purposes.
8. Test the Panel Finally, test your new access panel. Open and close it multiple times to ensure it operates smoothly and aligns properly with the ceiling.
Building a ceiling access panel can be a straightforward DIY project that adds convenience to your home or workspace. By following these steps, you can easily gain access to the critical systems above your ceilings while keeping your space looking tidy. Regular maintenance of these systems will extend their lifespan, and having an access panel makes it all the easier.
-
Revolutionizing Interior Design with Ceilings t grid Suspended SystemNewsOct.29,2024
-
Revolutionizing Ceiling Design with ceiling access panel with Gypsum Tile WaterproofNewsOct.29,2024
-
Revolutionizing Interior Design with PVC Gypsum Ceiling: A Comprehensive GuideNewsOct.29,2024
-
Elevating Interior Design with High quality Mineral Fiber Ceiling TilesNewsOct.29,2024
-
Revolutionizing Interior Design with PVC Gypsum Ceiling: A Comprehensive GuideNewsOct.29,2024
-
Elevating Interior Design with High-Quality Mineral Fiber Ceiling Tiles: A Comprehensive GuideNewsOct.29,2024


