9 月 . 18, 2024 18:17 Back to list
how to install t bar ceiling grid
How to Install T-Bar Ceiling Grid
Installing a T-bar ceiling grid can transform a room by providing a modern, professional look while allowing easy access to overhead utilities. This guide will walk you through the steps needed to successfully install a T-bar ceiling grid.
Materials and Tools Needed - T-bar ceiling grid components (main runners, cross tees) - Ceiling tiles - Measuring tape - Level - Chalk line - Wire cutters - Drywall screws or anchors - Drill - Ladder
Step 1 Planning Your Layout Start by measuring the dimensions of your room. Decide on the height of your ceiling, typically 4 to 6 inches below the existing ceiling. Use a chalk line to mark this height on the walls. Ensure the layout is level by using a laser level or traditional level.
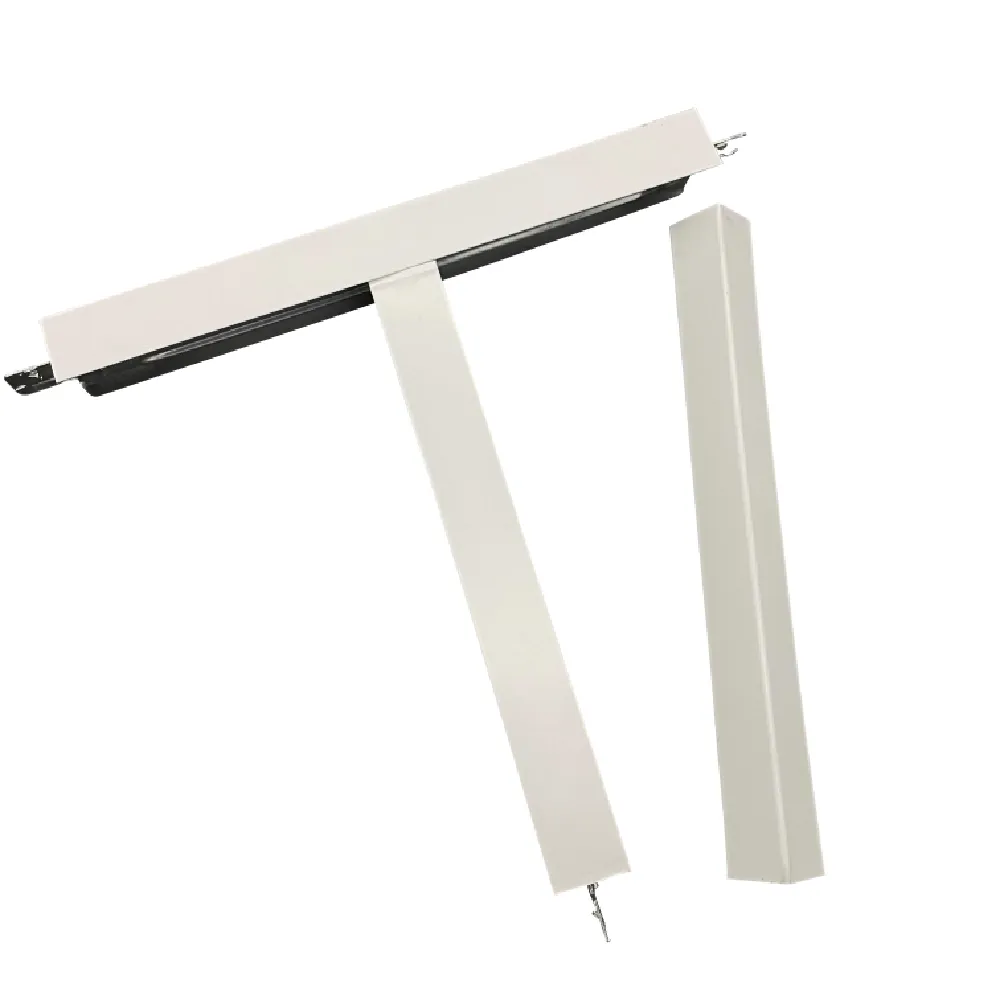
Step 2 Install the Main Runners Begin by installing the main runners, which run the length of the room. Install wall angles around the perimeter at the marked height, securing them with drywall screws. Then, attach the main runners to the wall angles, ensuring they are aligned and spaced correctly according to the manufacturer’s specifications—usually 4 feet apart.
how to install t bar ceiling grid

Step 3 Insert Suspension Wires For optimal support, you’ll need to install suspension wires from the existing ceiling to the main runners. Use wire cutters to cut 12-gauge wire into appropriate lengths, usually around 12 inches. Use a drill to secure the wires to the ceiling joists, spacing them about every 4 feet along the main runner.
Step 4 Install Cross Tees Once the main runners are securely in place, it’s time to install the cross tees, which will create the grid for the ceiling tiles. Align the cross tees with the main runners to form a 2x4 or 2x2 grid, depending on the size of the ceiling tiles you are using. Ensure all pieces fit snugly and are level.
Step 5 Insert Ceiling Tiles Now that the grid is in place, it’s time to insert the ceiling tiles. Gently lift each tile into the grid, ensuring they fit well within the framework. Start from one corner and work your way across the room.
Step 6 Final Adjustments After all tiles are installed, take a moment to ensure everything is level and appears uniform. Make any necessary adjustments by repositioning the tiles or grid components.
Conclusion Installing a T-bar ceiling grid is a straightforward DIY project that can dramatically enhance the appearance of any room. With proper materials, careful measurement, and attention to detail, you can achieve professional results, making your installation a standout feature in your space. Happy DIYing!
-
Revolutionizing Interior Design with Ceilings t grid Suspended SystemNewsOct.29,2024
-
Revolutionizing Ceiling Design with ceiling access panel with Gypsum Tile WaterproofNewsOct.29,2024
-
Revolutionizing Interior Design with PVC Gypsum Ceiling: A Comprehensive GuideNewsOct.29,2024
-
Elevating Interior Design with High quality Mineral Fiber Ceiling TilesNewsOct.29,2024
-
Revolutionizing Interior Design with PVC Gypsum Ceiling: A Comprehensive GuideNewsOct.29,2024
-
Elevating Interior Design with High-Quality Mineral Fiber Ceiling Tiles: A Comprehensive GuideNewsOct.29,2024


